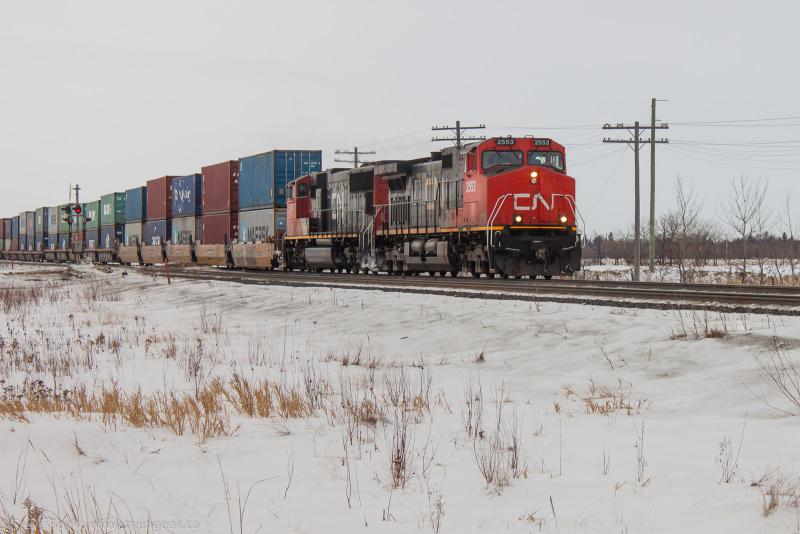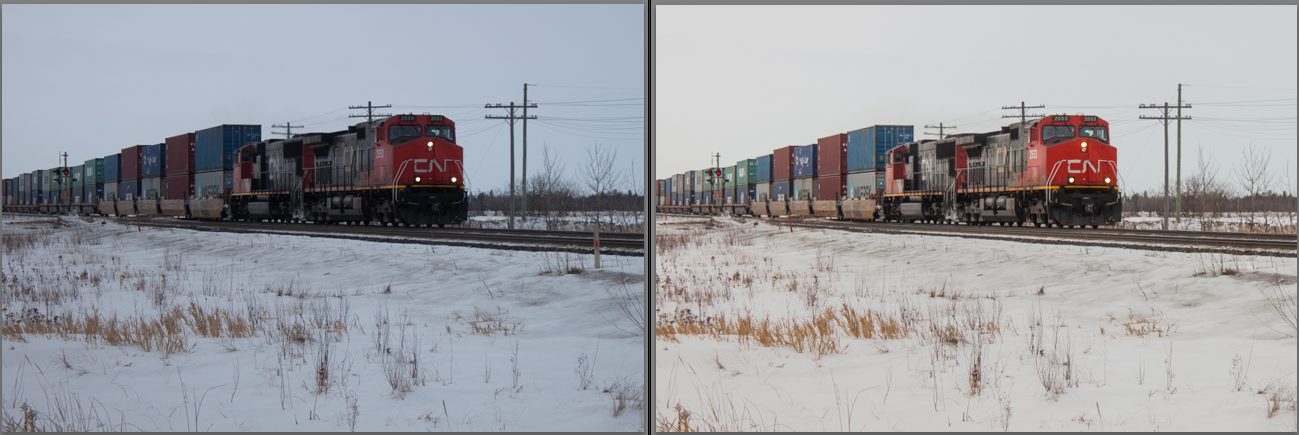
Here's the before and after photos:

One of the many great things about Adobe Lightroom is that it lists every edit you have done to a photo. Here's what I did to this photo.
- Crop and straighten. Pretty basic and this should be done on almost every photo.
- Enable lens profile. This allows Lightroom to compensate for a particular lens, in this case my Canon 18-55mm lens. Generally it compensates for pincushioning on wide angle shots, etc.
- Adjust white balance. You can see the "before" photo is bluish, very common for overcast photos with a lot of snow. You have to tell your camera or editing program what is "white", easy enough when there is a lot of snow!
- Shadows. Lightroom has a handy slider to lighten or darken shadows, so I cranked it up to +52 to brighten up the underside of the engines.
- Contrast and Exposure. I increased both by about 17.
- Luminance Smoothing. The original was a bit grainy, even though it was shot at ISO 100. The smoothing can get rid of some grain but you have to be cautious not to use too much or you lose all detail. Luminance smoothing is also handy in portrait photos to get rid of some blemishes, wrinkles, and so forth.
- Clarity. I just love this slider in Lightroom to bring out detail. I was fairly conservative and only used +17 as too much Clarity in snow makes everything look harsh.
- Saturation and Vibrance. I cranked both of this up some to make the colours of the engine and containers "pop".
- Spot Removal. I used the spot removal in Lightroom to get rid of the fibre optic warning post in the right of the frame.
No comments:
Post a Comment