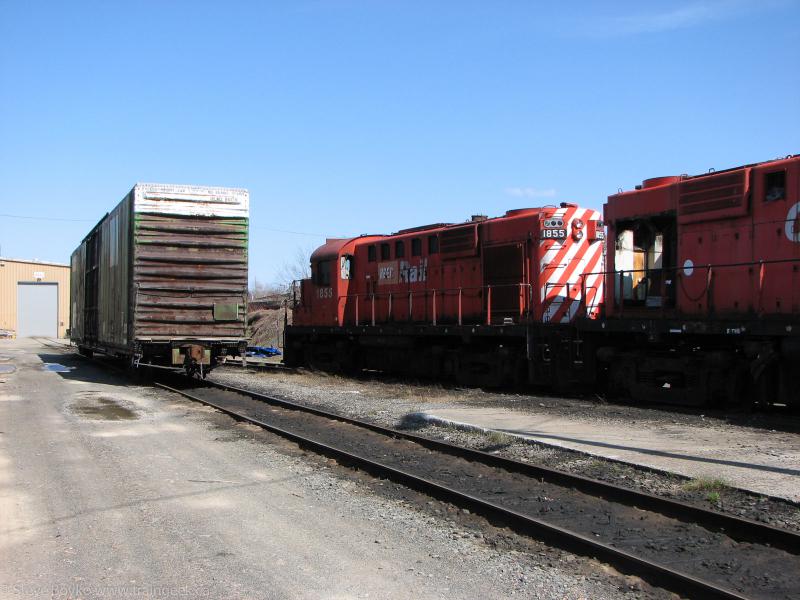
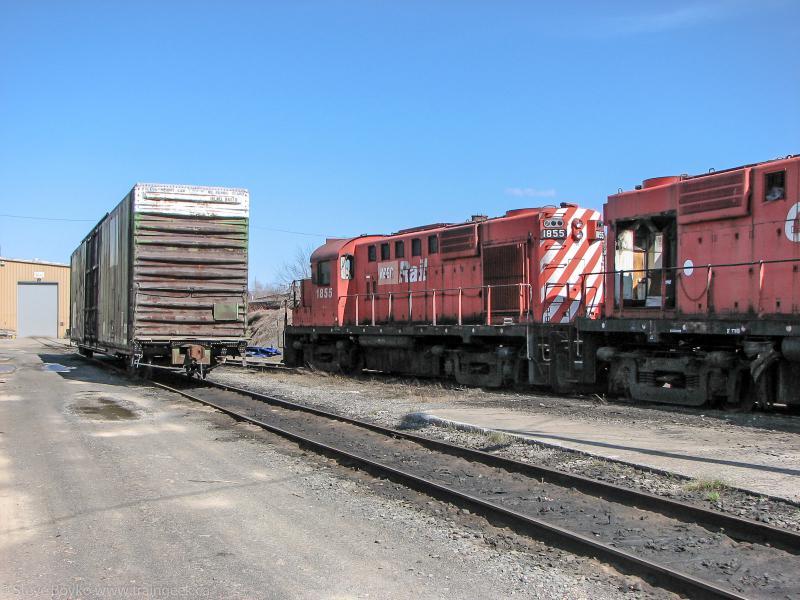
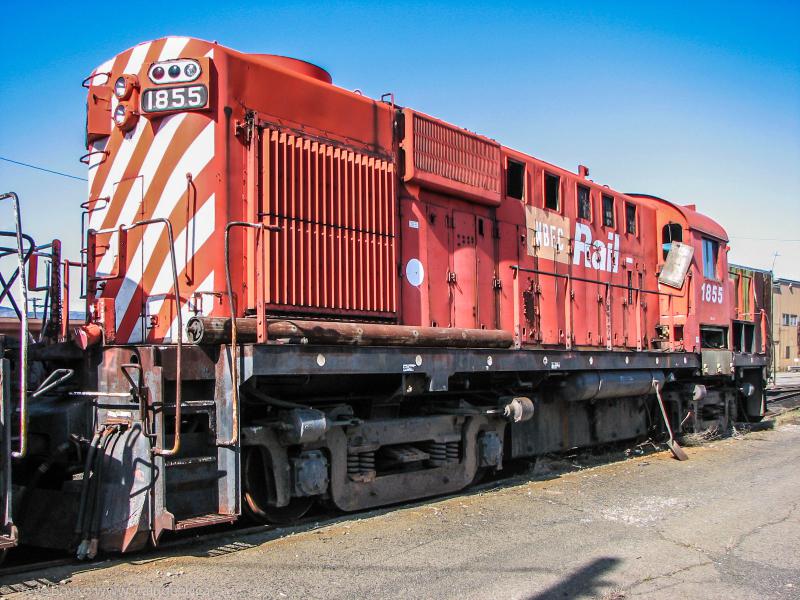
Here's an example of terrible light. I shot NBEC 1855 in Campbellton, NB in May 2009 shortly before it was scrapped. This is straight out of the camera with no editing.

Awful, right? Where's the sun? Off to my right, creating terrible shadows on the unit..
Now some creative editing in Adobe Lightroom or other programs can help bring details out, but the result is going to look artificial. Keep in mind that in digital photos, bright areas hold more information than dark areas, so when you lighten a dark area it will be very pixelated. I did some serious smoothing on this image to try to get rid of the pixelation.

It's much better if you can walk around and take the shot from a different angle.

The common rule of thumb is to have the light source (usually the sun) behind you, over one shoulder. This should give your subject decent illumination, not quite head on but enough to get rid of most shadows.
Of course, you cannot always get the angle you want. I was fortunate in this case but in many cases you're stuck with the sun in front of you. What to do?
Some people would just not take the photo. I figure, it's digital, why not? Maybe you can get something good out of it.

Here you sacrifice all ground and engine detail but you get a lovely sky and some nice light on the side of the train. Notice I'm still on the "sun side" of the train. If I had walked across to the other side before the train came, I would have been shooting right into the rising sun.
Shooting into the sun? Well, we can make that work too.
The trick is to expose it properly. The sun is going to make your camera sensor underexpose everything. If it is a static scene like this one, you can use HDR like I did and take several frames at different exposures and combine them. Or, you can go for a silhouette shot and expose for the sun and let the subject go totally dark.
But what about a moving target, like a train? Well, chances are, unless you are super prepared you are going to be using automatic exposure and you're going to get a dark train. Your best bet is to not do it.
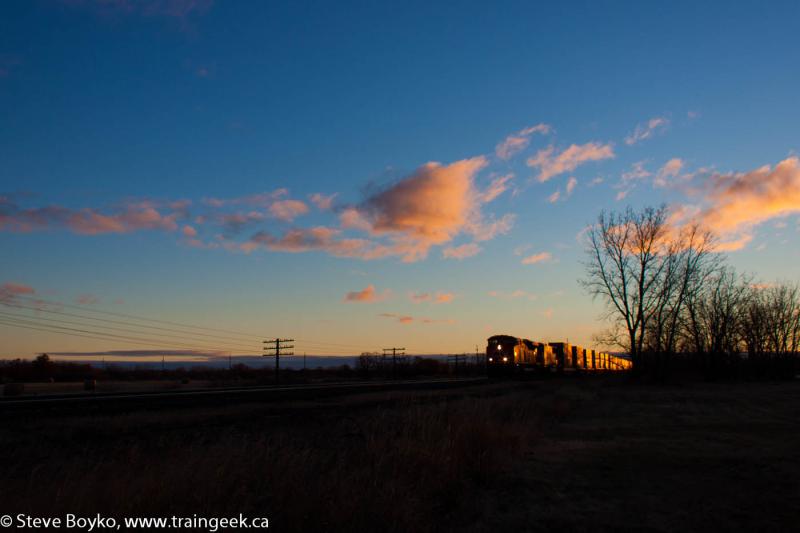
Here's an example. I was up near Symington Yard in Winnipeg when I saw an interesting train leaving, led by GTW 5948 and new-to-CN 5442. The problem was they were heading north out of the yard in October at 1:30, so the sun was basically high and behind the train. Hence this kind of light:
Terrible, right? I knew this was a throwaway shot but I took it anyway to make sure my camera was working. I took side shots of each engine as they went by, and the light was better.

A "going away" shot would have been even better for light, except that I was on the wrong side of the train!
In this case there was no way to get on the other side of the train without being unsafe and trespassing, and I won't do that. Take what you can get.
I've only been talking about the direction of light. Another whole blog post would be about the quality of light - noon, sunrise, sunset, "blue hour".
Here's what I want you to take away from this:
- Know where the light is coming from
- Try to keep the light behind you, over one shoulder
- If the light is in your face, try a different angle or be inventive to save the shot

.jpg)
.jpg)
3 comments:
The 5948 is not an ex GTW. It's a full GTW that is now fully owned by CN as the lease has been bought out.
Thanks for the correction - I'm pretty sure I made that mistake when I first posted the photo too, and you corrected me then. :)
Even if I boobed a photo years ago, some photo editing as you've suggested can photographically resuscitate an otherwise DOA print that I have subsequently scanned.
The NBEC units were cool, but I really liked that HLMX 86178 peat moss hi-cube boxcar in the shot!
Thanks for sharing, Steve.
Eric
Post a Comment